Basic Lighter Care
Back in my “good old days” in customer service, I would get a fair share of calls of people demanding a free lighter because theirs stopped working after just a few months of use. But before any return was set up, I often found it easier – as did many happier customers – to lead them through some simple, step-by-step instructions on how to manually repair their lighter based on what they were describing. More times than not, just hearing the sound of the lighter through the phone as they tried to ignite it was enough to diagnose the problem. We tend to deem a lighter “bad” based upon one attempt to ignite it; and though a lighter may stop working after just a few months, this doesn’t (always) mean the lighter is defective. It just means you (a) may need to tinker with it a little bit, and (b) take a few extra steps of lighter care.
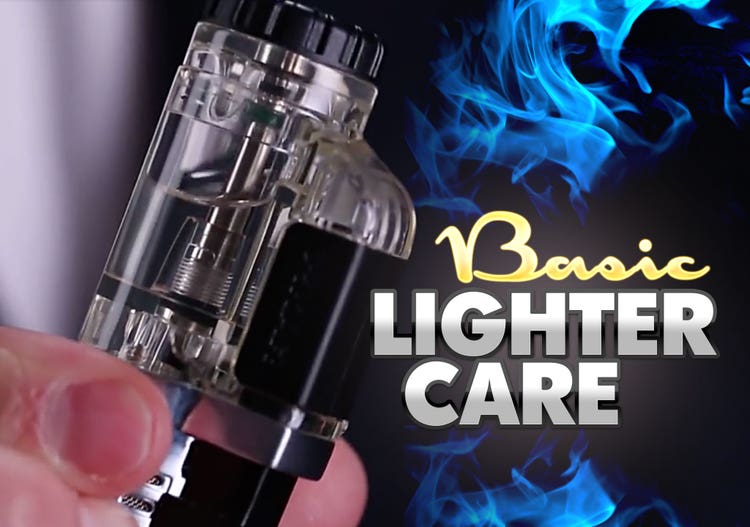
Have a problem firing up a new lighter? One of the lighter care basics calls for purging it after your first fill of butane. In fact, you should make it a habit to purge your lighter on each refill, too. Lighters typically do not arrive with any butane in the tank due to mailing restrictions on flammable material…so the fuel tanks are usually filled with oxygen instead. So before your first light, fill your lighter with butane and let it rest for a few minutes. Then, using the same valve that you filled the lighter with, empty out some of the butane you already put in. As you release the butane, you’re releasing the trapped oxygen as well. If there is oxygen in the tank when you first try to light it, your lighter will most likely not light. If it’s still not working for you, it means you need to adjust the rate the butane comes out of the lighter. If it comes out too fast, the velocity of the gas will blow the flame out, instead of ignite it. And if it comes out too slow, there’s not enough butane being supplied to ignite a flame. You’ll have to find the happy medium at which your lighter will ignite properly. That’s as simple as turning the butane flow valve with a screwdriver; it’s the adjuster located on the bottom of most lighters which circles the valve you use to fill your lighter.
Older lighters, on the other hand, are a little bit of a different story. The name of the lighter care game is always maintenance. You may not realize it, but every time you use your lighter, contaminants in the butane you use can gunk up your lines and valves, which – over time – can block butane from coming out. Regardless of how many thousand times your butane is refined, it still will contain some contaminants. There’s not much you can do about the supply lines, unfortunately, but it hardly affects the lighter since a constant stream is always pushing butane (and everything else) through at breakneck speeds…so nothing really ever has the chance to collect in the line. It’s the valve in which the butane is released, and the igniter itself, that you have to watch out for. Contaminants rest on the valve and spew onto the igniter, which can prevent butane from being released and stop your lighter from sparking. Simple fix: just rub your lighter and igniter down with a clean cloth every once in a while to remove any buildup that may be on it. You’ll also want to check the positioning of the igniter; it may move during the cleaning process, so make sure the igniter is directly over one of the valves from which the butane comes out.
While a “defective” lighter is often not defective, some fixes may be beyond your control; in that case, make sure you have the warranty documentation in order to get your torch serviced. But oftentimes, you’ll be surprised at how many problems can be fixed with just a little know-how and tinkering with the lighter – and save you a load of grief caused by a rather insignificant problem. So if you’re ready to buy a new lighter, or think your old flame is on the downhill slide, try these simple lighter care tips to see if you can revive your dying torch – or bring your new one to life.